Driveway Pavers Installation Step-by-Step Guide with Cost, Prep, and Laying Walkway Tips
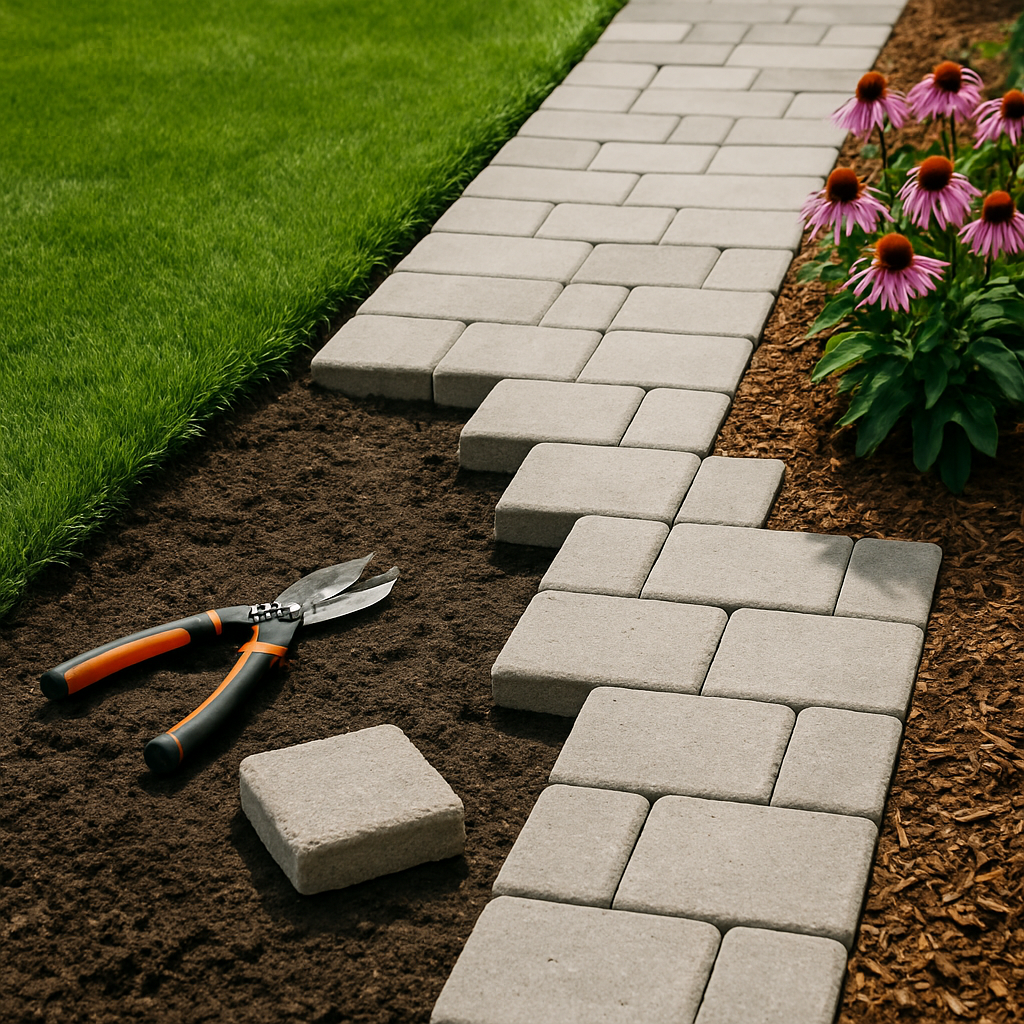
A Complete Approach to Installing Driveway Pavers
If you are planning a driveway pavers installation, understanding each crucial step can save you time, money, and ensure lasting results. The essential process for how to install pavers—from preparation and cost considerations to expert techniques for laying pavers on a solid foundation—applies whether your project is for a new driveway, a walkway, or a patio area. This detailed, practical guide provides clear answers for both beginners and seasoned DIYers, helping you achieve a stable, attractive driveway using brick, concrete, or stone pavers. For a printable version and detailed diagrams, refer to the 10-Step Guide to Installing Pavers.
Planning Your Paver Project: Preparation and Design Considerations
Start by mapping out your driveway or walkway area, considering its intended use, drainage needs, and overall design vision. Use graph paper or digital tools to sketch your plan, including any curves, corners, or features like retaining walls.
Determine the paver pattern, whether it is herringbone, basket weave, or running bond. Your chosen layout should balance visual appeal and traffic durability. If you are adding an edging or custom design, measure precisely—this will help minimize costly paver cuts later.
Research and select paver materials that align with your aesthetic goals and local climate. Concrete pavers are often more cost-effective and easy to install for beginners, while brick and natural stone provide distinctive texture. Factor in local material availability, and consider purchasing extra pavers for repairs or future expansion.
Check municipal restrictions and obtain any necessary permits. Local regulations may dictate whether permeable pavers are required for proper drainage or set guidelines for setbacks and driveway width, ensuring your project is legally compliant.
Understanding Driveway Pavers Installation Cost and Budget Factors
Calculate the area in square feet by multiplying the length and width of your planned driveway or walkway. The total cost of installation depends on several variables, such as paver material type, base preparation, and additional features like edging or retaining walls.
As a general estimate, concrete pavers are typically the most affordable, followed by brick and then natural stone. Include expenses for excavation, base gravel, sand, geotextile fabric, and labor (if you are not installing the pavers yourself). For more pricing guidance and visual breakdowns, watch helpful video tutorials from experienced contractors, such as those available on YouTube.
Factor in the cost of any tools you may need to purchase or rent, such as a plate compactor, wet saw, and safety equipment. Many home improvement stores like Home Depot or Lowes offer rental services. Remember to budget for paver joint sand and sealant, which are essential for long-term stability and durability.
If installing over dirt or on a slope, budget extra for grading and base materials, as these might prevent future paver settling or shifting. Include costs for bulk gravel and any delivery fees if sourcing material locally.
Site Preparation: Excavation, Grading, and Base Layer Techniques
Excavation is the backbone of a successful driveway installation. Remove all grass, topsoil, and loose earth to a depth that allows for the paver thickness, bedding sand, and a solid base—usually 6 to 12 inches, adjusting for soil type and vehicle load. On a slope, take extra care to grade for proper drainage and prevent pooling.
Lay down geotextile fabric to minimize weed growth and stabilize the subsoil. Install compacted layers of crushed gravel or road base, using a plate compactor after every 2-3 inches. This creates a firm, even surface that resists settling over time. Base thickness matters: driveways require a deeper base than patios or walkways for long-term durability.
When preparing a walkway or laying pavers on level ground, ensure all transitions are smooth and account for necessary slopes (about 1/8 inch per foot) away from buildings for effective drainage. Refer to guides like the Oregon State Extension paver guide for detailed diagrams.
Mark the outer boundaries and consider adding robust edging made from plastic, metal, or concrete. Edge restraints keep pavers locked in place and help maintain clean lines along driveways, patios, and walkways.
For inexperienced installers, avoiding shortcuts during prep is vital—a properly compacted and drained base prevents future sinking, cracking, or weed issues.
Sand Bedding and Laying Pavers: Step-by-Step Methods for Lasting Results
Before you begin to lay pavers, spread a layer of bedding sand 1 to 1.5 inches thick over the compacted base. Use straight PVC pipes as guides and a 2 x 4 to screed the sand, ensuring a consistent, level surface. The sand bedding cushions each paver, compensating for minor base irregularities and promoting even support.
Lay pavers one at a time in your predetermined pattern, starting from a straight edge or 90-degree corner. Place each paver directly onto the sand without sliding it, and avoid stepping on the prepared bed. For consistent joints, keep pavers close together; most pavers have built-in spacers.
If you need to cut pavers, use a diamond blade saw or paver splitter for a clean finish. Double-check alignment with a string line every few feet to maintain straight rows—this is especially important for driveways and large walkways. Refer to reputable installation resources, such as industry guides, for professional tips.
Install border stones or edge pavers as you progress. Edge restraints anchored with steel spikes (spaced every 1 to 1.5 feet) hold the design in place on slopes or curves. When all pavers are laid, sweep fine paver sand or polymeric joint sand into the gaps, followed by one or two passes with a plate compactor to lock pavers and fill joints.
Finishing Touches: Joint Sand, Sealing, and Maintenance Ideas
Once all pavers are installed, spread more dry joint sand over the driveway or walkway, sweeping it to fill every crevice. Compact again to ensure a stable, locked surface and add more sand as needed. Polymeric sand is a popular option as it hardens after watering, preventing weed growth and keeping the pavers tightly interlocked.
Apply a suitable paver sealant if desired to enhance color, minimize staining, and further lock sand in the joints. Sealing is especially recommended for patios and high-traffic driveways, as it adds protection against the elements.
For ongoing maintenance, inspect your paved area seasonally for shifting, settling, or joint sand loss. If pavers become uneven, they can often be lifted and reset atop fresh bedding sand. Sweep or blow off debris regularly and address weed or moss growth promptly to extend the lifespan of your driveway, walkway, or patio.
This step-by-step installation process provides a lasting and visually appealing result for your driveway or walkway, whether you are working on a flat surface or over a slope, and supports both cost-saving DIY options and professional installations.


Comments
Post a Comment