Paver Installation Cost: True Price per Square Foot, 20x20 Patio, and Budget Guide
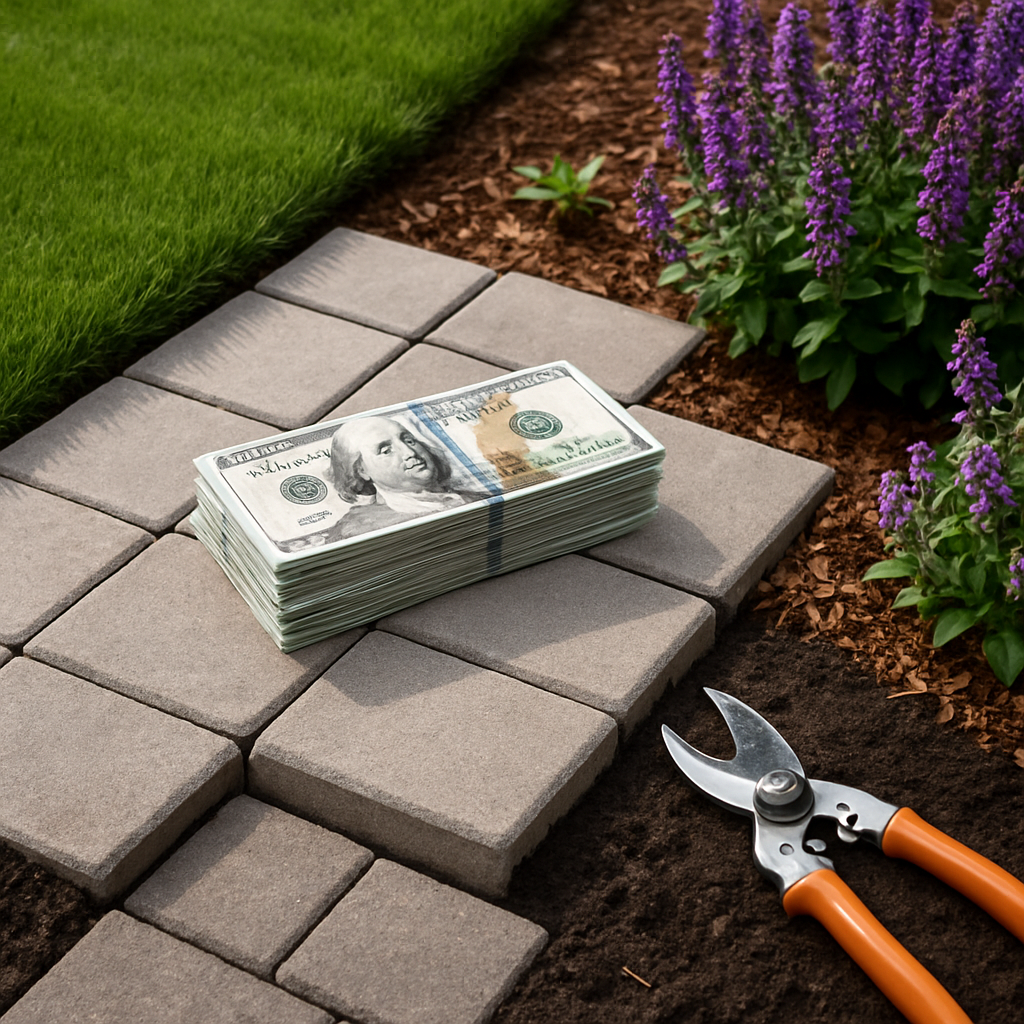
If you are considering a new paver project, understanding the real paver installation cost is essential. On average, expect to pay between $10 and $25 per square foot for professional installation, while a DIY approach can reduce expenses significantly. For a 20x20 patio, costs range widely, depending on materials, labor, and design complexity. This comprehensive guide covers current pricing benchmarks per square foot, explains how to estimate total costs for a 20x20 patio, and unpacks all key budget factors homeowners should know before beginning.
Understanding Average Installation Costs by Square Foot
The price to install pavers per square foot primarily depends on material type, preparation, and labor. For concrete, brick, or stone pavers, material costs generally span $3-$10 per square foot. Labor often ranges from $7 to $15 per square foot, depending on your location and the project's complexity. Additional costs arise from site preparation, edge restraints, and finishing details.
Professional installation often guarantees proper grading and long-term performance. DIYers can save up to 40% of total installation expenses by investing time in careful preparation and execution. The cost per square foot can rise when using higher-end permeable pavers or custom patterns, so it is important to account for these options during early planning.
Regional price differences can be dramatic. For instance, areas like California and Las Vegas may charge a premium compared with national averages. Use local contractor quotes and compare them with online calculators—such as those featured on Home Depot's patio planning tools—for the most accurate estimates tailored to your zip code.
Factors Impacting the True Cost of Your 20x20 Patio
A 20x20 patio covers 400 square feet, making understanding every cost component vital for your overall budget. Material selection plays a central role: concrete is usually the most economical, while natural stone comes at a premium. The design complexity—such as curved edges, custom walkways, or integrated retaining walls—can add both labor and materials expenses.
Excavation, removing old turf or concrete, and base preparation should not be overlooked. These preliminary steps can add up to $2-$5 per square foot. Edge restraints made of plastic, metal, or wood help maintain structural integrity but influence costs as well (10-Step Guide to Installing Pavers).
For those installing pavers against a house or trying to address uneven ground, extra base material and precise leveling will add time and cost. Careful planning, as outlined in detailed how-to guides and YouTube tutorials, helps minimize surprises and maintain your budget constraints.
Some DIYers choose to lay pavers directly over dirt for low-traffic projects, but this shortcut can reduce longevity. Professionals always recommend at least 4-6 inches of compacted base material and proper sand bedding to ensure stability—a step confirmed by both industry guides and expert installers (Paver Installation Guide).
How to Calculate Material Quantities and Cost for Your Patio
To determine how much material you need, measure your patio area in square feet and use a reliable online calculator. For a 400-square-foot patio, you will typically need 400 individual 12"x12" pavers, not including a 10% overage for cuts and mistakes.
Next, calculate the required base—usually 2 to 3 cubic yards for a patio this size, depending on your soil and installation depth. Sand bedding is also necessary; plan for about 1 cubic yard. Edge restraints and joint sand round out your bill of materials. Calling your local supplier or using a calculator from a major retailer streamlines the process and helps you compare paver installation cost per square foot with transparent numbers.
Don’t forget to factor in equipment rental—like a compactor, saw, and hand tools—if you are choosing the DIY path. Even with these expenses, the self-installation route allows for significant savings and flexible scheduling, but remember to follow all recommended steps for a durable structure.
DIY vs. Professional Installation: Pros, Cons, and Hidden Costs
DIY paver installation appeals to homeowners looking for savings, with the potential to cut labor costs entirely. However, it requires advanced planning, physical effort, and precise execution to avoid uneven settling or drainage issues. Watching installation videos or reading step-by-step guides can help you avoid common pitfalls and ensure correct technique (Nate Installing a Paver Patio on YouTube).
Professional contractors bring experience, specialized tools, and the ability to complete large patios efficiently. Their expertise reduces long-term maintenance and repair needs. Keep in mind that professional quotes often bundle warranty, disposal of waste, and site cleanup, which can justify higher upfront costs.
Hidden costs lurk in both approaches. DIY projects may require extra materials due to inexperience or miscalculation, while surprises during excavation or drainage adjustments can inflate professional estimates. Always request detailed, written quotes before committing.
Making the right choice comes down to your comfort with manual labor, technical skills, and the complexity of your patio ideas. Hybrid approaches—where homeowners handle excavation or base prep and hire pros for final laying—can yield substantial savings while ensuring quality results.
Tried-and-True Tips for Managing Your Paver Project Budget
Savvy homeowners begin with a realistic, line-by-line budget. Comparing different paver types and sourcing materials during seasonal promotions can lower overall expenditure. Permitting fees and delivery charges are sometimes missed in early estimates, so account for them up front.
If you are creating a permeable patio or walkway, expect additional costs for specialized base materials. Carefully consider the need for landscaping features like retaining walls or unique edging—they can transform the space but should be planned for from the start.
- Always order extra materials for cuts and future repairs.
- Rent, rather than buy, tools you will only use once.
- Ask local suppliers for delivery deals and volume discounts.
- Use step-by-step guides to avoid costly mistakes.
- Build in a contingency fund for unforeseen expenses or weather delays.
Mastering paver installation cost is about more than numbers: it reflects your design choices, prep work, and installation method to deliver a lasting, value-adding result.


Comments
Post a Comment