Pea Gravel Walkway Ideas: How to Install a Low Maintenance Garden Path With Edging
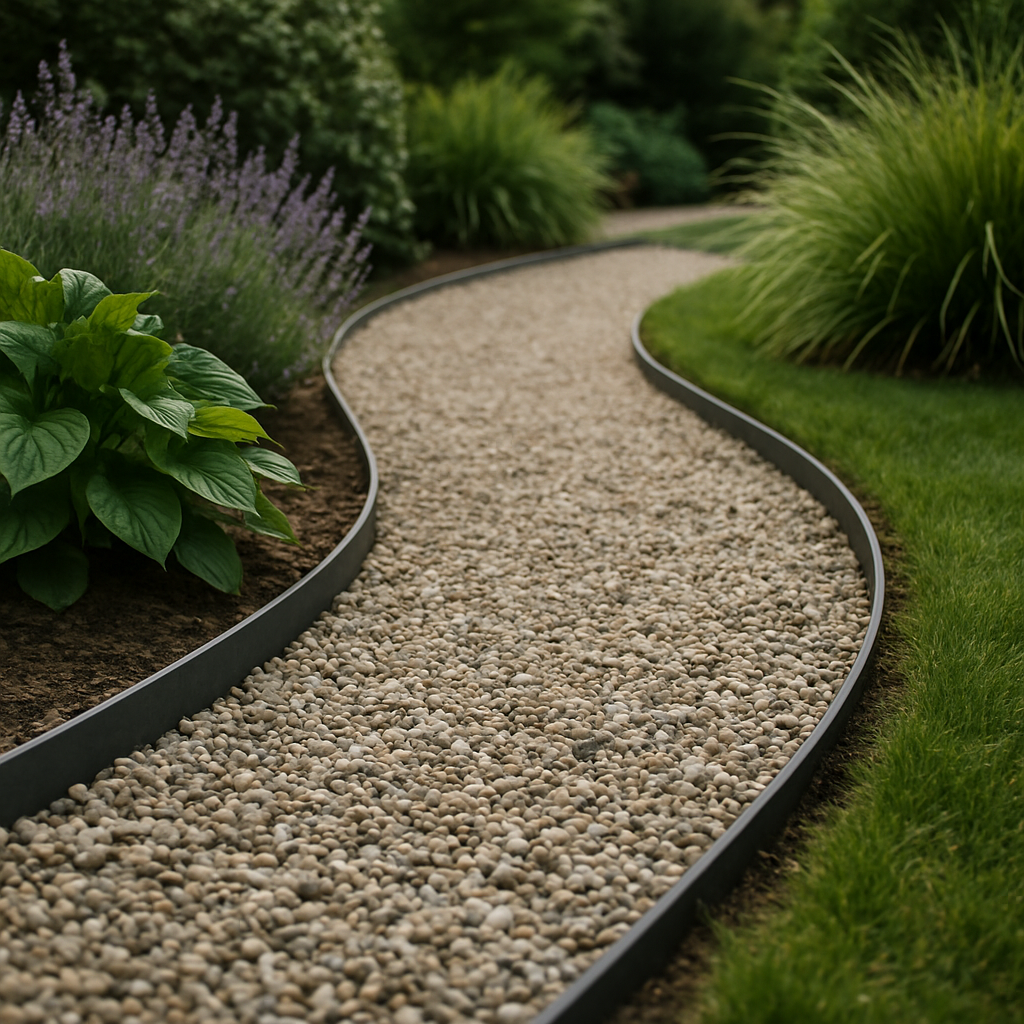
If you are searching for a straightforward way to install a low maintenance walkway in your garden or yard, pea gravel paths with proper edging are among the most practical solutions. Pea gravel is affordable, easy to install, and adapts to a wide range of layouts, making it a popular material for DIY landscaping projects. With smart planning, durable base preparation, and the right edge restraint, you can build a path that will last for years and require minimal upkeep—whether you want a formal walk or an informal, winding trail.
Planning Your Pea Gravel Garden Walk
Begin by assessing your landscape and mapping out where you would like the walkway. Think about how you move through your yard and whether your path should be direct or curved, straight or meandering. Using a garden hose or a length of rope to outline the desired shape lets you visually experiment before you start digging.
Measure the total length and width of your outlined path to estimate how much pea gravel and edging material you will need. Remember, a path that is 3 feet wide typically feels comfortable for foot traffic, but you can adjust this based on available space and design preference. The measured area will also help you use a gravel calculator to determine the amount of bulk pea gravel to purchase at your local supplier, such as Home Depot, Menards, or Lowe's.
Before excavation, check for any utility lines beneath the planned walkway. Marking these will prevent damage during installation.
Excavating and Preparing the Base
Excavate your path to a depth of 4 to 6 inches, depending on soil conditions and traffic levels. For sandy or well-drained soils, a 4 inch depth may be sufficient, but clay or heavy soils benefit from a deeper base for drainage. Smooth the bottom of the trench and remove any large rocks or roots that could cause unevenness.
Next, install a base layer of compacted crushed stone or paver base. This layer provides stability and helps prevent gravel from being pushed into the soil below. Compact the base thoroughly using a hand tamper or power compactor, ensuring the surface is level from side to side and slightly crowned for drainage.
Lay a soil-stabilizing landscape fabric or membrane over the compacted base. This prevents weeds from growing up through the gravel and stops the pea gravel from migrating into the soil over time (see This Old House guide).
Finish base preparation by double-checking that the walkway aligns with your original plan before moving on to edge installation.
Choosing and Installing Edging for a Clean Finish
Proper edging is what gives pea gravel paths their crisp appearance and prevents stones from spilling into grass beds or nearby gardens. Several options are available for path edging, including metal, plastic, stone, or wood. The choice depends on aesthetic preference, budget, and the curve or shape of your walkway.
Install the selected edging along both sides of the prepared base, driving the material into the ground for support. For tight curves, flexible rubber or plastic edging works well, while straight runs can be defined with steel or timber edging for maximum rigidity. Secure the edges with stakes or anchors according to the manufacturer's instructions.
The top of the edging should rise slightly above the finished grade of your gravel to keep stones neatly in place (Family Handyman video walkthrough).
Spreading Pea Gravel and Adding Stepping Stones
Pour pea gravel over the prepared base and inside the edging, aiming for a finished depth of 2 to 3 inches. Spread the gravel evenly with a garden rake and smooth out any uneven spots, making sure the surface is flush with or just below the edge restraint.
If you want to create a stepping stone path within your pea gravel walkway, set stepping stones firmly on the base layer before adding the top layer of gravel. Level each paver so it sits steady and just above the gravel for comfortable walking.
Packing the gravel lightly with a tamper can help settle the stones and make the path firmer underfoot. Watering the surface will also help the gravel settle into place. Pea gravel is inherently permeable, allowing water to drain through easily and reducing puddle formation on your walkway.
- Tip: For walkways on a slope, install a low timber border or use interlocking grid systems beneath the gravel to prevent migration downslope.
Maintaining Your Pea Gravel Path for Years to Come
Once your path is in place, maintaining it is simple and quick. Rake the surface occasionally to smooth out any displaced stones, add more gravel as needed to maintain the desired depth, and pull any stray weeds that appear along the edges. Because pea gravel is a loose material, you can easily reshape or expand the walkway if your plans change in the future.
Edging keeps maintenance easy, preventing gravel from mixing into surrounding lawns and flower borders. Unlike concrete or stone paths, a gravel walkway is less likely to crack with ground movement, making it especially suited for climates with freeze-thaw cycles or soil heave. With a little regular care, your low maintenance path will look sharp season after season without major repairs or expenses.
A well-installed pea gravel walkway adds structure, improves access, and boosts garden appeal while offering the flexibility and cost-efficiency DIY gardeners want. By following these steps and selecting quality materials, you can achieve a professional-grade result for your outdoor space.
If you are seeking additional inspiration or need help estimating quantities, check online calculators provided by retailers such as Home Depot or Menards. For more step-by-step guidance, see This Old House's comprehensive tutorial.
Constructing a pea gravel garden path with solid edging ensures your walkway will be attractive, practical, and easy to care for, no matter how your garden evolves.


Comments
Post a Comment