Repotting Plants Into Bigger Pots Indoors: A Complete Guide For Beginners and Beyond
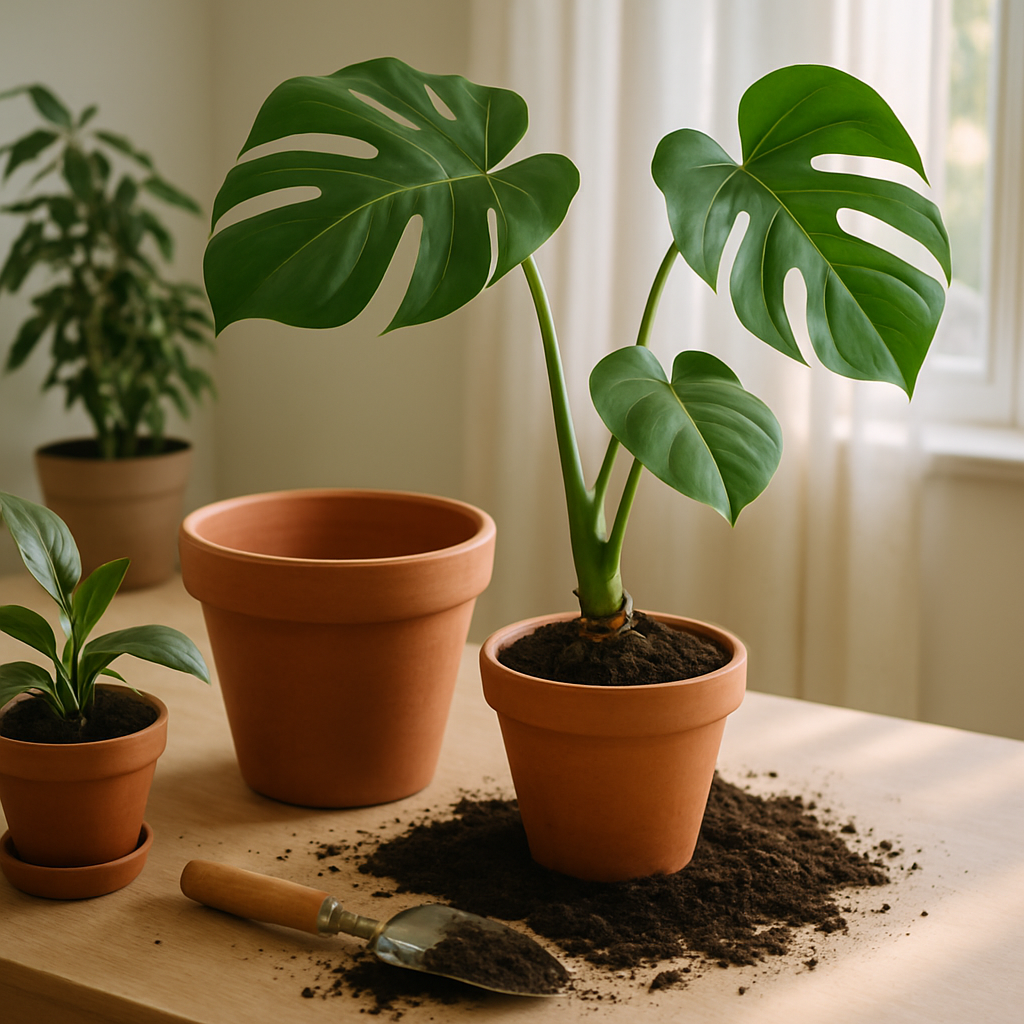
If you want healthy houseplants that grow vigorously indoors, repotting plants into bigger pots is essential. The process is simple: choose the right time, select a pot one to two inches wider than the previous container, and use the best soil for indoor plants to promote strong roots. Repotting doesn’t just prevent roots from becoming overgrown or pot-bound—it gives your plant new nutrients and room to thrive. In this guide, you’ll learn step-by-step techniques for transplanting everything from succulents and snake plants to tomatoes and peppers, including what to do to avoid damaging roots or hurting your plant during the process.
How Do You Repot a Plant Without Killing It Or Hurting the Roots?
Repotting can feel intimidating, especially if you’re worried about breaking delicate roots or damaging your plant. The key is to work carefully and take your time. First, water the plant a few hours before you plan to repot; this keeps the root ball intact and reduces the stress on your plant. Next, gently tip the old pot and support the base of the plant as you slide it out. If you encounter resistance, run a dull knife around the inside edge to loosen any stuck soil. Avoid tugging forcefully, as this can break roots or injure the stem.
Once removed, inspect your plant’s root system. If roots are circling around the root ball (a sign of being pot-bound), gently tease them apart with your fingers. Trim away any mushy, rotten, or extremely long roots with sterilized scissors, making sure to leave most healthy roots undisturbed. Place the plant in its new pot, which should have proper drainage holes to avoid waterlogged conditions. Fill in with fresh, high-quality potting mix, pressing lightly to eliminate large air gaps before watering thoroughly.
Remember, each species—from spider plants and zz plants to orchids and aloe vera—may have slightly different preferences. For detailed repotting advice tailored to your plant’s needs, reliable guides like Patch’s repotting instructions provide practical, in-depth support.
Choosing the Best Soil For Indoor Plants: What to Use and When to Repot
The right soil is the foundation of successful transplanting. For most houseplants, a well-draining, nutrient-rich potting mix is ideal. Look for options labeled as suitable for indoor plants, since these typically include a blend of peat, coco coir, perlite, and a slow-release fertilizer. Succulents and cacti demand even sharper drainage, so choose mixes with extra sand or perlite. Orchids and snake plants may need specialty blends to keep roots from staying too wet.
Knowing when to repot is just as vital. Signs your plant needs a new home include slowed growth, roots poking through drainage holes, soil that dries out rapidly, or leaves turning yellow despite proper watering. As a rule of thumb, repot younger, actively-growing plants every 12–18 months and mature specimens every 2–3 years. However, certain fast-growing species—like tomatoes and cucumbers started as seedlings—may require more frequent pot upgrades to prevent stunting.
If you’re unsure about soil choice or timing, online communities such as Reddit often discuss what’s best for a specific plant in pot scenarios, but expert sources like Penn State Extension’s repotting houseplant guide offer evidence-based recommendations you can trust.
Step-by-Step Process: Transplanting Seedlings, Tomatoes, Peppers, and More
Repotting isn’t just for established houseplants—transplanting seedlings (like tomato or pepper starts) is a crucial step for strong garden plants later. Start by filling the new container about one-third full with the right mix. Using gentle hands, lift seedlings from trays or small pots, taking care not to break the fragile stems or roots. Always handle by leaves instead of stems when possible, as stems are more likely to bruise or snap.
Make a small hole in the new pot’s center, set your seedling so the roots are buried but leaves aren’t touching the soil, and carefully fill in the remaining space. Water thoroughly, allowing excess water to drain. For outdoor-to-indoor moves—such as overwintering peppers or bringing in a tomato from your garden—inspect for pests and gradually acclimate plants to indoor light before or after transplanting.
Some gardeners like to document each stage with pictures, making a reference for future repotting attempts, especially when comparing results between various soil types and pot sizes.
Dealing With Overgrown, Large, or Dying Plants: When to Repot and What Happens If You Don’t
When a plant has outgrown its pot, symptoms like stunted growth, drooping leaves after watering, or roots circling the inside of the container or escaping through drainage holes become apparent. Large or overgrown houseplants need careful handling—consider getting help or using supports to move the plant safely. Repotting is your chance to correct problems, refresh exhausted soil, and restore vigor.
Neglecting to repot a plant that truly needs it has consequences. Roots can become starved for oxygen, water, and nutrients, leading to yellowing, leaf drop, or a generally dying appearance. Potted plants may even split their containers or suffer root breakage as they continue growing. Repotting rejuvenates your plant, but doing so incorrectly—like breaking too many roots—can set it back or, in rare cases, kill it. Take your time and follow best practices, especially with mature or prized specimens such as orchids, spider plants, or aloe vera.
If you’re new to this, watching repotting plants into bigger pots indoors YouTube tutorials—or referring to stepwise guides like Swanson’s nursery advice—can help you visualize techniques and get comfortable with the process.
Post-Repotting Care: Watering, Adjusting, and Preventing Damage
Right after transplanting, it’s normal for a plant to show minor stress signs such as slight wilting or slowed growth. Water deeply but avoid overwatering; new soil holds moisture for longer periods. Bright but indirect light helps plants recover—avoid immediately placing them in strong sun, even for light-loving species like succulents or snake plants.
Monitor your plant closely for the first two weeks. If you spot yellowing, monitor watering practices and check that roots aren’t sitting in soggy soil (especially critical for zz plant and orchid roots, which are sensitive to rot). Maintain stable temperatures and keep away from drafts, particularly in winter, when repotting can be stressful for many indoor plants.
For certain plants like aloe vera or snake plants, giving them time to adjust to their new soil before watering (waiting 24–48 hours) can help reduce the risk of rot. Babies or offshoots produced during repotting may be potted separately, giving your plant family a fresh start in their own pots.
Frequently Asked Questions: Beginners’ Tips For Repotting Houseplants
- How do you know when to repot? Repot when roots outgrow their pot or you see slowed growth. A good rule: if water rushes straight through, it’s time for new soil and possibly a larger pot. This supports healthy, continuous growth without letting your plant get root bound.
- Should you repot after buying a houseplant? Yes, most plants purchased from stores benefit from repotting soon after bringing them home. Many are in compacted soil or small nursery pots that don’t support their long-term health. Use best soil for indoor plants and upgrade pots about 1–2 inches wider than the old one for best results.
With thoughtful repotting, your indoor garden will thrive year-round, producing vibrant, healthy foliage and rewarding you with beautiful growth.


Comments
Post a Comment