Gravel Patio: Simple DIY Ideas, Pros and Cons, and Budget Tips for Small Spaces
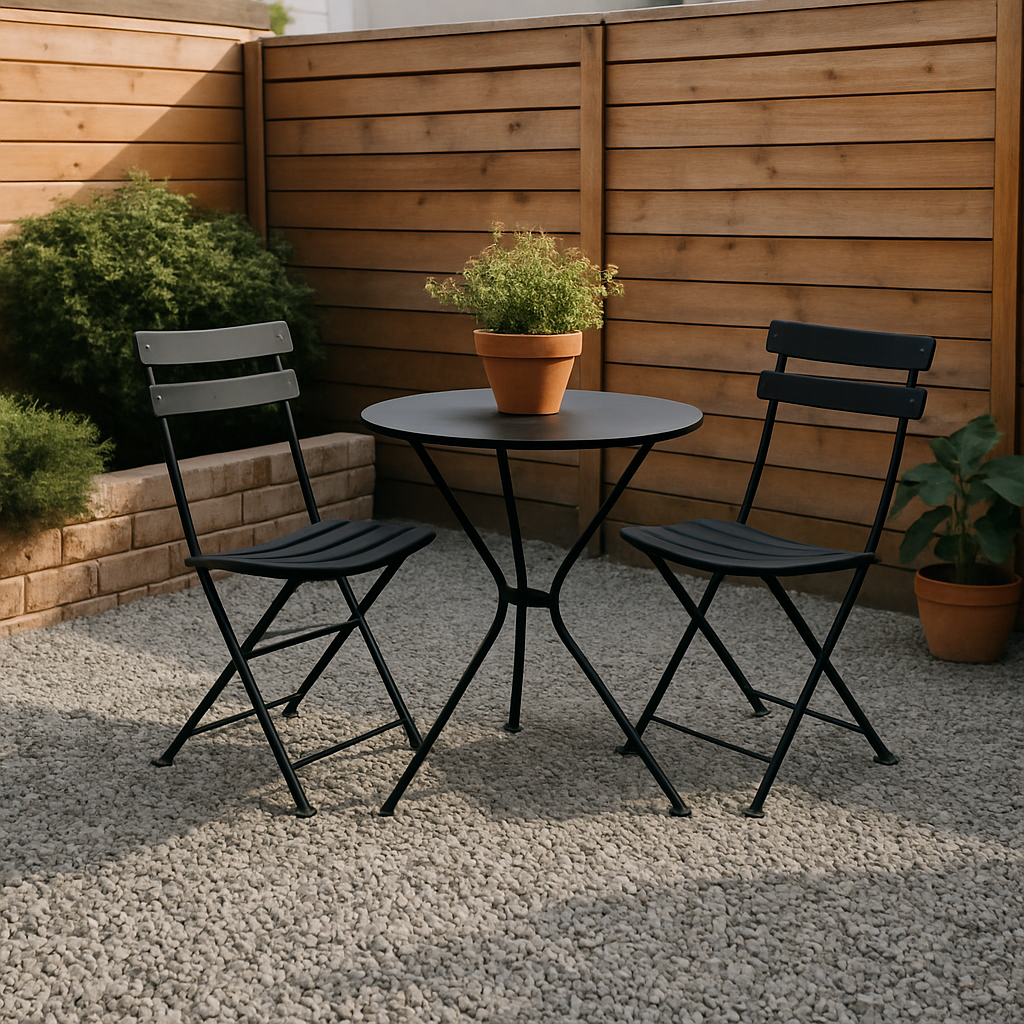
If you want a stylish, functional, and cost-effective update to your yard, a gravel patio is one of the simplest and most affordable DIY options. Whether you are revitalizing a neglected corner or maximizing a small backyard, gravel patios offer excellent drainage, customization, and flexibility for fire pits, pavers, and seating areas. This guide clearly explains the pros and cons of installing a gravel patio, shows how to plan and build your own, and offers budget-friendly tips specifically suited for small outdoor spaces.
Advantages of Using Gravel in Patio Areas
One of the biggest draws for homeowners is that gravel patios are affordable and easy to customize. Materials like pea gravel or crushed rock are economical, and you can use a calculator to estimate cost per square foot before starting your project. Gravel allows water to pass through, helping prevent puddles that can plague paved spaces.
It also provides flexibility—if you change your mind or want to expand, adjustments are simple. Because these spaces can be built without concrete, glue, or permanent barriers, they are an excellent choice for renters or anyone seeking a semi-temporary solution. Gravel surfaces are comfortable to walk on and blend beautifully with natural landscaping elements. For inspiration, consider these creative ideas from Pinterest's gravel patio collection.
Looking for an eco-friendly approach? Gravel fits well with drought-resistant plantings and minimalist garden designs frequented in California climates and beyond. Best of all, you can integrate a fire pit or outdoor dining area without dramatic changes or large expenses.
Downsides and Practical Limitations
Although gravel patios are budget-friendly and attractive, there are some cons to consider. Without an adequate weed barrier, you may battle persistent weeds poking through the stones. In areas where snow is common, shoveling can be tricky since rocks often get mixed into piles.
The stones can shift underfoot, especially if you use round pea gravel—this might not be ideal for dining tables or heavier furniture. Settling and spreading are normal, which means you will need occasional raking to maintain a tidy look. Smaller pieces also have a tendency to scatter beyond their defined borders.
If you anticipate frequent use by children or pets, keep in mind that gravel can be uncomfortable for crawling or running. For those who want zero maintenance, a solid patio material might be preferred. For real-world experiences and more practical insights, visit the active discussions on gravel patio pros and cons at this living source.
Despite these challenges, many homeowners still choose gravel for the savings and style flexibility, especially when balanced against the cost and permanence of poured concrete or brick.
Step-by-Step Guide to Installing Your Own Gravel Patio
Creating a gravel patio is a manageable weekend project for most DIYers, even beginners. Start by outlining your space with stakes and string, then remove any grass or debris. Dig to a depth of 3-4 inches and use a tamper to ensure the ground is level and compact.
Next, lay down a weed barrier fabric to prevent unwanted growth; this step is critical for long-term maintenance. For extra structure, add metal or plastic edging to hold gravel in place. Pour in your chosen gravel—pea gravel is popular for its smooth texture—then use a rake to create an even surface. Calculate the amount needed based on square footage to avoid over- or under-buying.
Add features like pavers or stepping stones for stable walkways or seating areas. For extra comfort or visual interest, consider combining gravel with raised beds, outdoor lights, or umbrella-shaded dining zones. Inspiration for these setups can be found on this patio gravel guide.
Making the Most of Small and Budget-Friendly Spaces
Small yards, side alleys, or odd corners are perfectly suited for gravel patio installations. Because the material is non-permanent and easy to shape, you can adapt it to tight footprints or unusual layouts. Use bold pavers with pea gravel filling the gaps for a modern grid design or build a simple fire pit circle bordered by stones.
String lights add ambiance and make the area usable at night without big expenses. Raised planters offer greenery without occupying much floor space. To keep costs in check, check local landscaping suppliers for gravel deals and re-use existing furniture, freshened with weather-resistant cushions.
Other practical tips for those on a tight budget include sourcing reclaimed bricks or pavers, choosing local stone, and skipping professional installation in favor of step-by-step DIY. Remember to sweep or rake gravel regularly and top up any thin spots as needed to prolong your patio's tidy appearance.
For more small-space ideas and layout visuals, consult curated inspiration at Pinterest.
Popular Design Options: Fire Pits, Raised Borders, and Paver Patterns
Adding a central fire pit turns even a small gravel patio into a true gathering spot. Use a raised metal bowl or stack concrete rings to contain flames safely. Surround with lounge chairs and you'll have a relaxing zone for cool evenings.
Raised borders, either with wood, brick, or steel edging, keep gravel in place and give the space a finished look. Mixing in patterns with square or rectangular pavers can elevate the aesthetic while also defining seating or cooking areas.
For an organic look, interplant low groundcovers between rocks or nestle pots throughout the gravel. Consider outdoor umbrellas to introduce shade: the contrast of fabric, pavers, and gravel creates a layered, designer feel without the cost of a solid patio. Explore more paver and pea gravel combinations at this source.
Done right, a gravel patio is sustainable, cost-effective, and adaptable to nearly every style and yard size, proving that you do not need to compromise style for budget or ease of installation.


Comments
Post a Comment